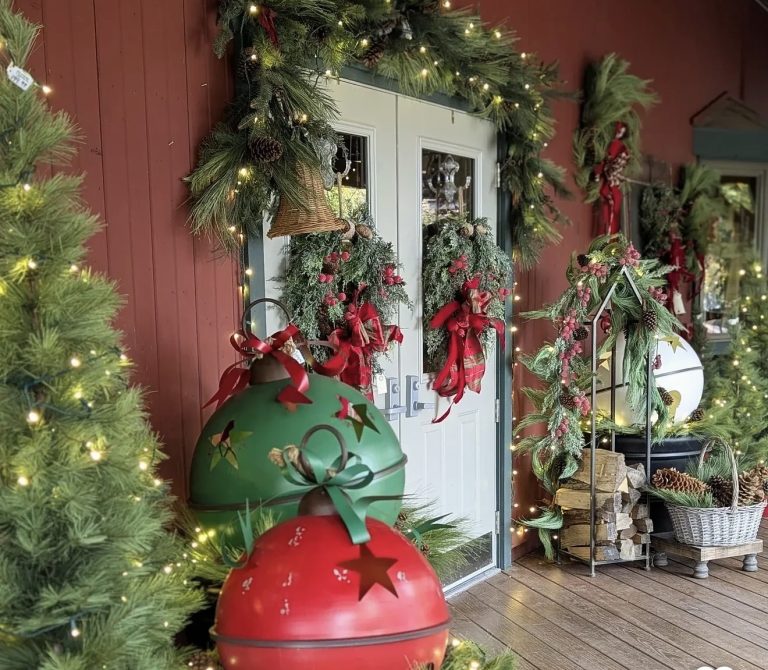
How to Make a Christmas Wreath: A Step-by-Step Tutorial
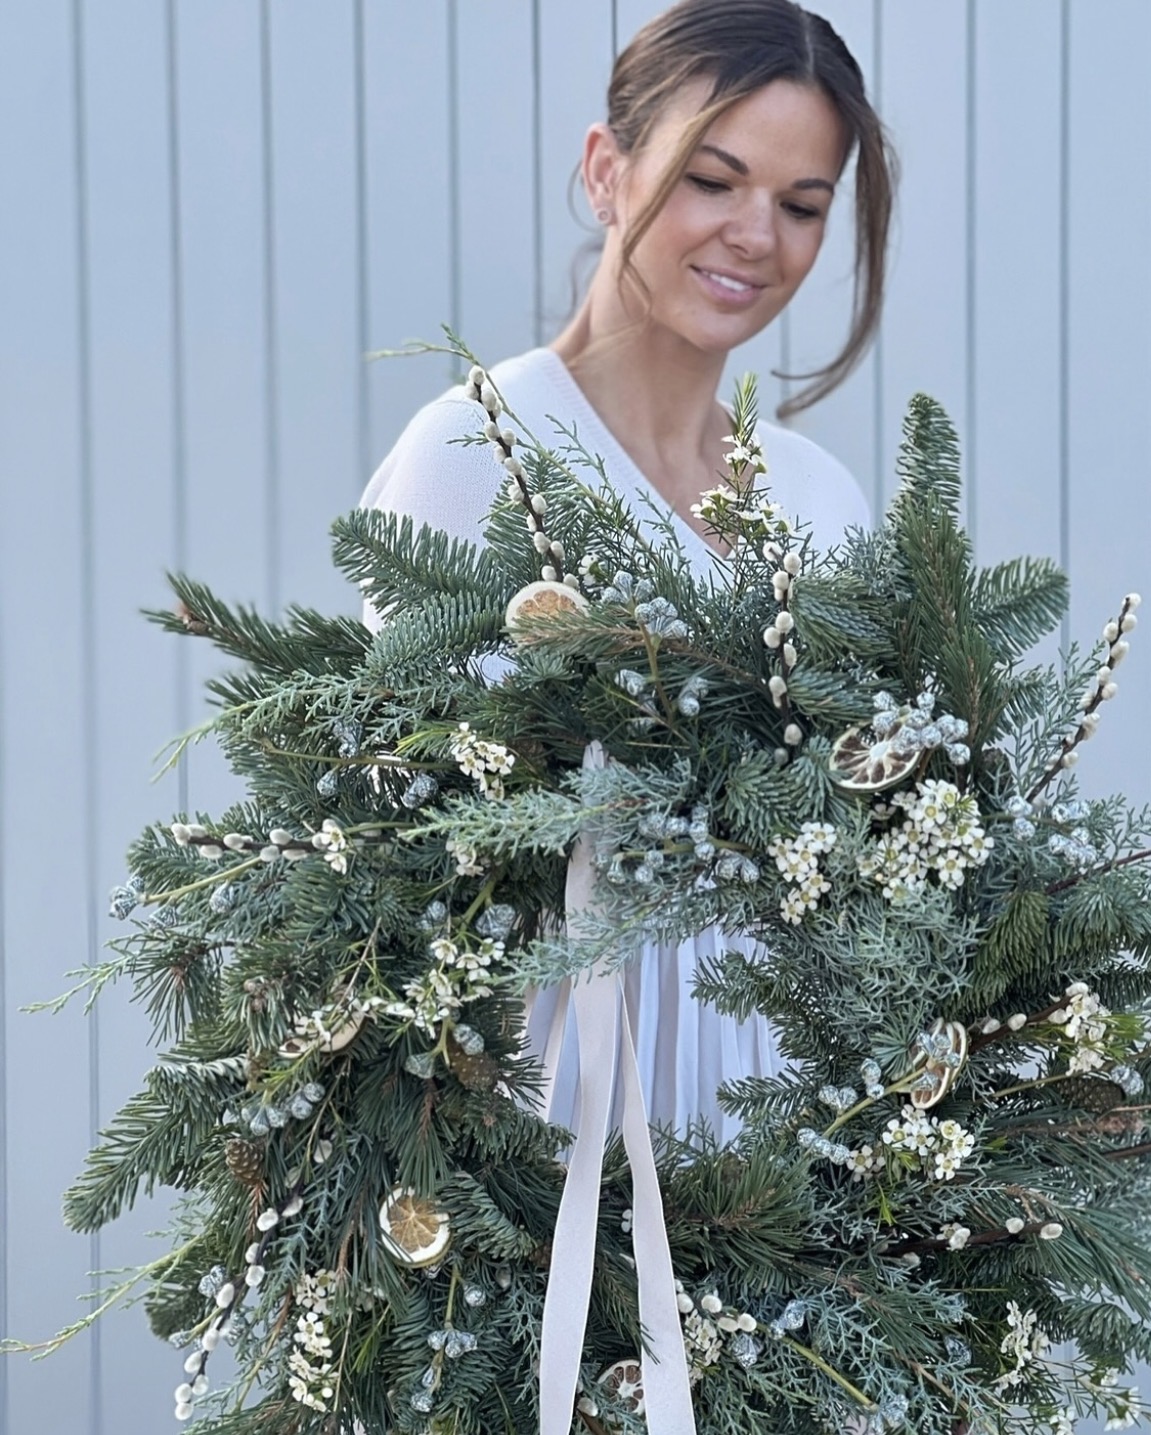
Every year I’d walk past those gorgeous wreaths at the craft store, sigh, and just buy one for $60.
Then one December I decided enough was enough. I was going to make my own. And guess what?
It was so much easier than I thought. Like, embarrassingly easy.
If you’ve been eyeing those Pinterest-worthy wreaths and thinking “there’s no way I can do that,” I promise you can.
Grab some coffee, maybe a glass of wine if it’s that kind of afternoon, and let’s get into it.
What You’ll Need
Before we start, here’s your shopping list. Nothing fancy, nothing expensive:
- A wire wreath frame (grab one at any craft store, around $5)
- Floral wire or a hot glue gun
- Faux greenery (pine, cedar, or eucalyptus stems)
- Ribbon for your bow
- Ornaments, pinecones, or berries for decoration
- Wire cutters
You genuinely don’t need anything else. Skip the overpriced “wreath making kits.” Just hit up your local craft store and grab these basics.
Step 1: Pick Your Base
This is where it all starts. You’ve got options here, and honestly, this decision shapes the whole vibe of your wreath.
A wire frame is the classic choice and gives you the most flexibility. But you can also use a straw wreath form or even a foam one if you want something a little more structured.
For beginners, I always say go with the wire frame. It’s forgiving, it’s cheap, and it holds up year after year.
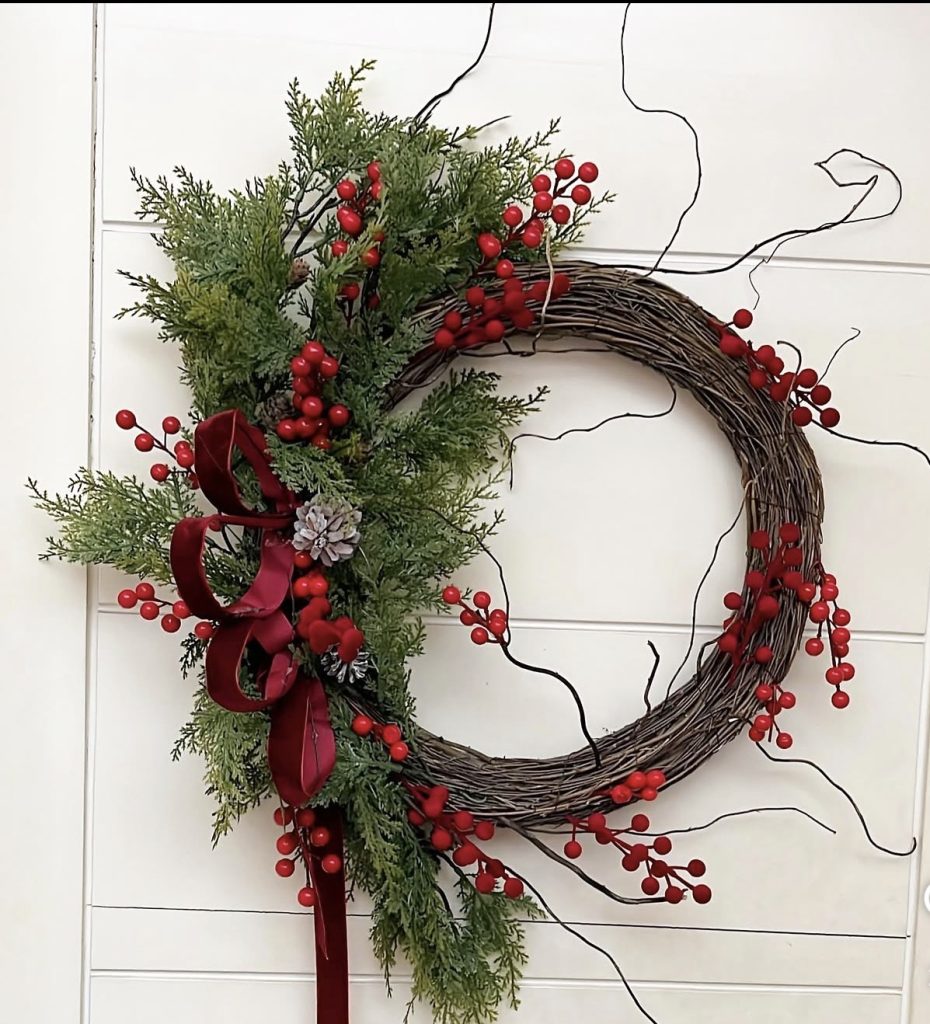
Lay it flat on your table before you do anything else. Trust me, working on a flat surface makes this whole process ten times easier than trying to hold it up while you attach stuff.
Step 2: Attach Your Greenery
Now for the fun part. Take small bundles of your faux greenery, maybe three or four stems at a time, and lay them against the frame at an angle.

Here’s the trick nobody tells you: work in one direction. Like, all your bundles should point the same way around the circle.
This creates that full, layered look instead of a messy, sticking-out-everywhere mess.
Secure each bundle with your floral wire, wrapping it tightly around the stems and the frame.
If you’re using a glue gun instead, that works too, just be careful not to burn your fingers (ask me how I know).
Keep going around the whole frame, overlapping each new bundle so it covers the stems of the last one.
By the time you’re done, your wreath should look thick and full, no bare wire showing through.
Check out these Dollar Store Christmas crafts you can make with local materials.
Step 3: Fill In Any Gaps
Once you’ve gone all the way around, step back and take a good look. This is your moment to catch any thin or bare spots.
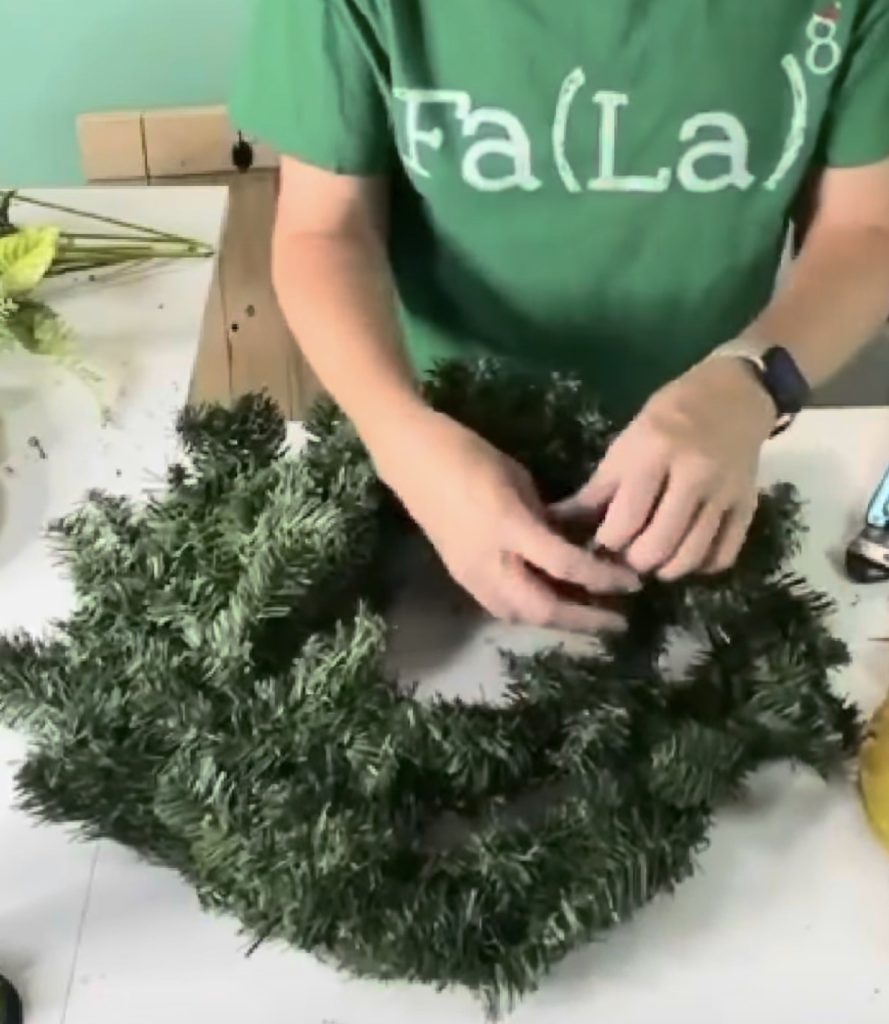
Sometimes the frame peeks through in a couple of places, and that’s totally normal.
Just grab a few more small greenery pieces and tuck them right into those gaps. Wire or glue them in the same way you did before.
Don’t stress about making it perfectly even. Real wreaths, the kind that grow on actual trees, aren’t perfectly symmetrical either.
A little wildness actually makes it look more natural and less like a factory-made decoration.
Step 4: Add Your Focal Point
This is honestly my favorite part because it’s where your wreath gets its personality.
Pick a spot, usually the bottom or slightly off to one side, and this becomes your focal point.

Some ideas that always look gorgeous:
- A big fluffy bow in red, plaid, or burlap
- A cluster of pinecones tied together
- Fresh or faux berries for a pop of color
- Small ornaments in a coordinating color scheme
Whatever you pick, cluster it together instead of spreading pieces around randomly.
A tight little cluster looks intentional and expensive. Scattered pieces just look like clutter.
Wire or glue your focal point pieces securely. This spot gets the most attention, so make sure nothing’s going to fall off halfway through the season.
Discover simple Rustic Christmas Mantel decor ideas you will see in every home this season.
Step 5: Layer in the Extra Details
Now you’re just adding the finishing touches. This is where you can really make your wreath feel like yours.
Think about scattering a few smaller accent pieces around the rest of the wreath, not just at the focal point.
A couple of extra berries here, a small ornament there, maybe some faux snow dusted on for that winter feel.
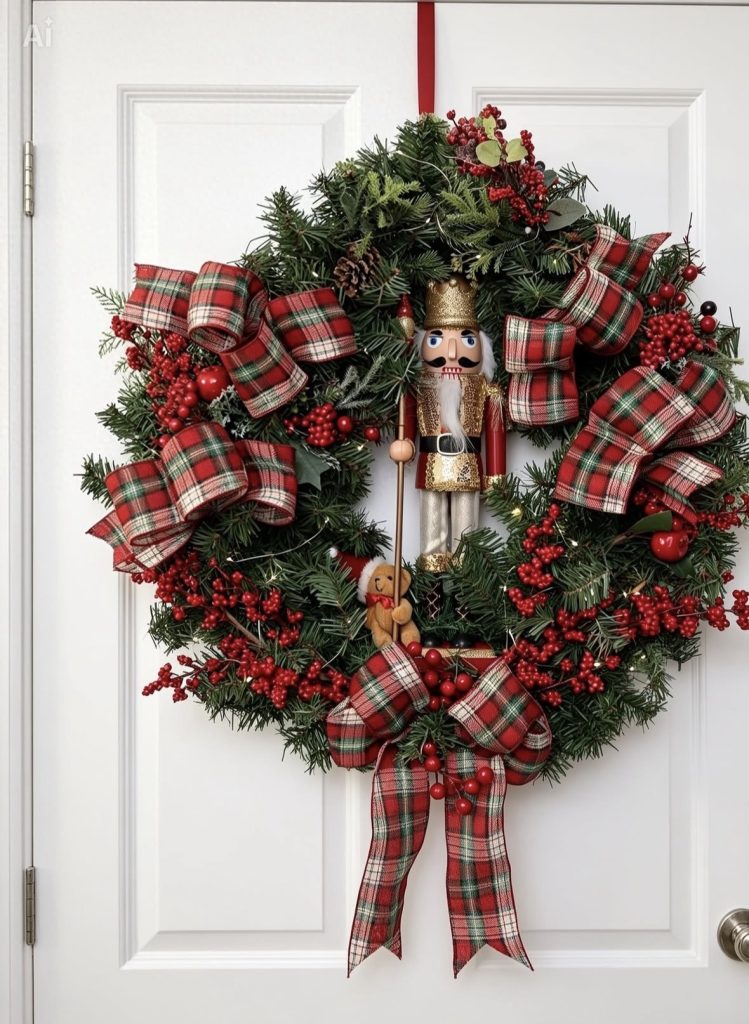
Go easy though. This step is about balance. You want little pops of interest around the wreath, not so much that it competes with your main focal point. Less really is more here.
Take a step back again (I promise this happens like five times during the process, and that’s normal) and see how it all looks together.
Adjust anything that feels off before you move on.
Step 6: Hang It Up and Add Your Hanger
Last step, and it’s an easy one. Attach a loop of ribbon or wire to the top back of your wreath so you’ve got something to hang it from.

If you’re hanging it on your front door, a simple over-the-door wreath hanger works great and won’t scratch up your paint.
For windows or mantels, a small nail or removable hook does the trick.
Step back one final time, admire your work, and honestly, give yourself a pat on the back.
You just made something that would’ve cost you $60 or more at the store, and it probably only took you an hour.
Learn how to decorate your living room for an elegant Christmas.
A Few Honest Tips Before You Start
I want to save you the mistakes I made on my first attempt.
First, buy more greenery than you think you need. I always underestimate and end up making a second trip to the craft store.
It’s annoying, so just grab extra from the start.
Second, don’t rush the layering step. I know it’s tempting to just slap everything on and call it done, but taking your time here is what makes the difference between a wreath that looks homemade in a good way versus homemade in a “did a toddler help” way.
Third, have fun with your color scheme. You don’t have to stick to traditional red and green.
Some of the prettiest wreaths I’ve seen lately go with all white and silver, or deep burgundy and gold. Make it match your own front door or your personal style.
Why Making Your Own Is Worth It
Look, I get it. Buying a wreath is faster. But there’s something really satisfying about hanging up a wreath you made with your own two hands.
It just hits different, you know? Plus, you can make it exactly how you want, no compromising on colors or size or style.
And once you’ve got the hang of it, you can make wreaths for every season.
Spring wreaths with pastel flowers, fall wreaths with little pumpkins, the possibilities are honestly endless once you know the basic technique.
So this year, skip the store-bought wreath. Grab your supplies, put on some Christmas music, and give this a try.
I promise it’s easier than it looks, and there’s nothing quite like seeing your own creation hanging proudly on your front door when the holidays roll around.
Happy wreath making, friends!